top of page
WEDDING DRESS: IN-PROGRESS SHOTS
*If text is difficult to read, click the image
 First, I had to figure out the design (none of these were the one). This image is from the website (Macy's). Note how, on the 6ft tall model, the dress is an appropriate length. |  Top left is the final design I ended up using |  I ordered the dress online (Macy's, $300; pretty good for a wedding dress :). When it first showed up, it was a little big lol. |
|---|---|---|
 It was stupid long, but the cat liked it! |  A mock-up of how I wanted the seamstress to change the hemline. |  Notes |
 And more notes |  After the alterations were complete |  I had the seamstress change the hemline (making the lower tier 1.5" longer than than the upper, it had been about 6" longer), shorten the straps, & raise the mermaid flair a bit (so that it wasn't around my knees & I was able to walk :) |
 So finally the fit was acceptable. | 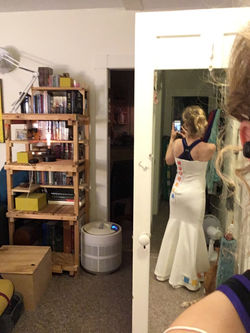 I used paper print-outs pinned to the dress to test out the size and placement of the squares. | 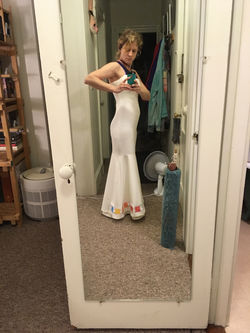 |
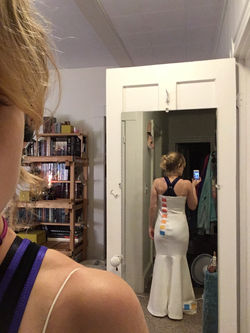 |  B/c testing showed that the thread was not terribly color-fast, and I had nightmares of water being spilled on the dress or a bit of rain on the day, I also had to wash all the thread I used with soap and hot water several times before embroidering w/it. |  |
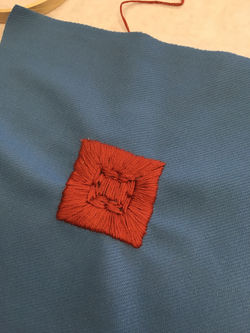 I also had to learn to embroider, as I'd never done it before. This method didn't pan out :) | 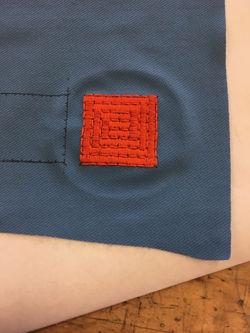 After a few tries, I found a method that worked quite well. Now it was time to really get started... | 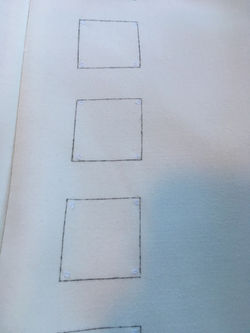 I made stencils of the squares, w/proper sizes and spacing, that I used to draw the pattern onto the dress. I didn’t manage to get photos of them (oops), but they were just cut-out of poster board (or similar) from images I made in PS. I did tests to find out which type of marker was the most water-resistant & managed to find one that didn’t budge even with hot water and soap. |
 I could feel confident that the black ink wouldn’t come leaking out at some later date for unforeseen reasons. It also had the less positive effect of making the process of drawing on these squares and guidelines incredibly stressful. An errant mark would be unfixable, & drawing w/a ruler on fabric like this is quite difficult to do well. I managed it tho & w/o even one mistake. | 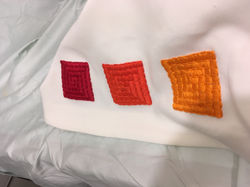 I did the hemline embroidery first as it was considerably more simple. The main reason for this is that the upper part of the dress was lined, meaning I had to embroider through multiple layers of different fabrics. |  |
 I was very worried that I would mess up the lining in a way that would cause it to wrinkle or just hang wrong. To mitigate this danger, I ended up anchoring the lining to the outer fabric in the corners of each square. This worked out quite well & was totally covered up by the embroidery. | 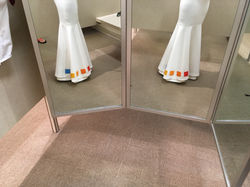 |
bottom of page
